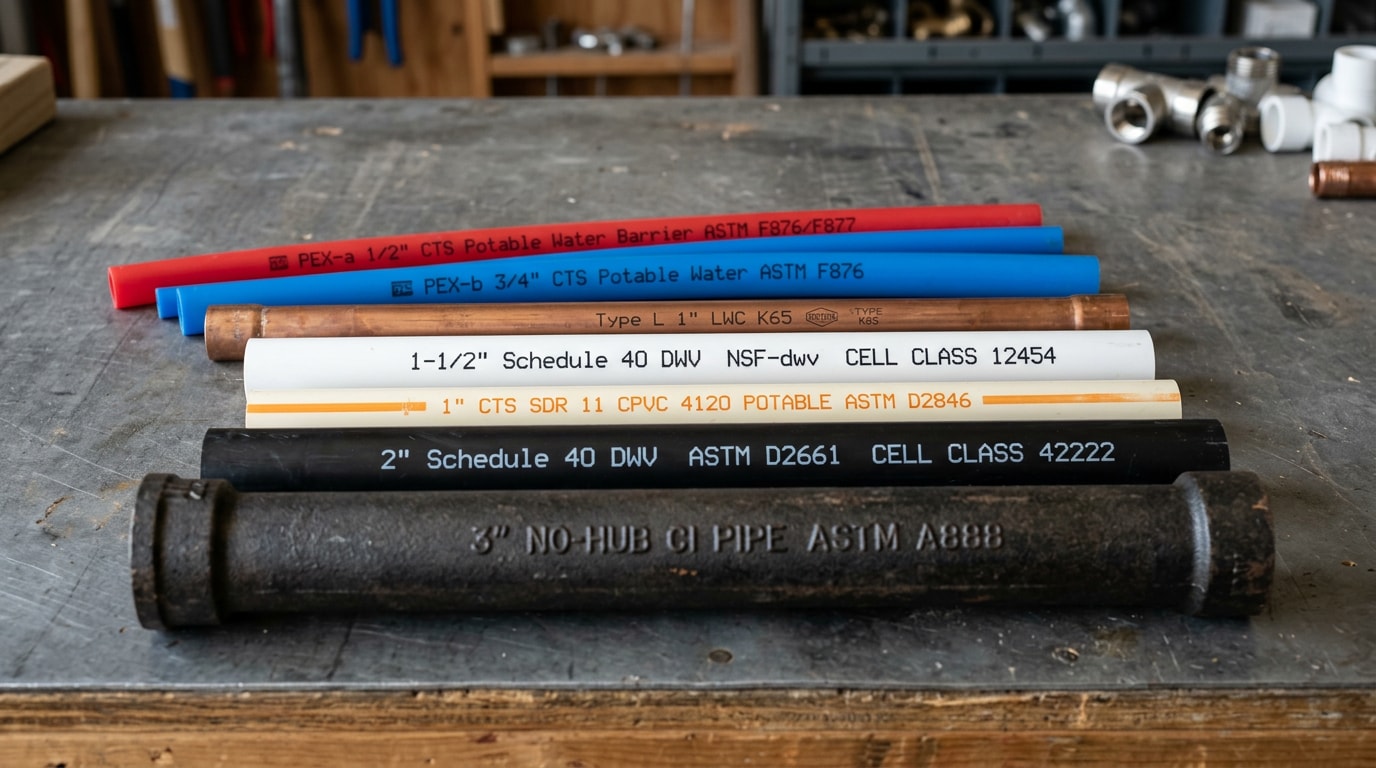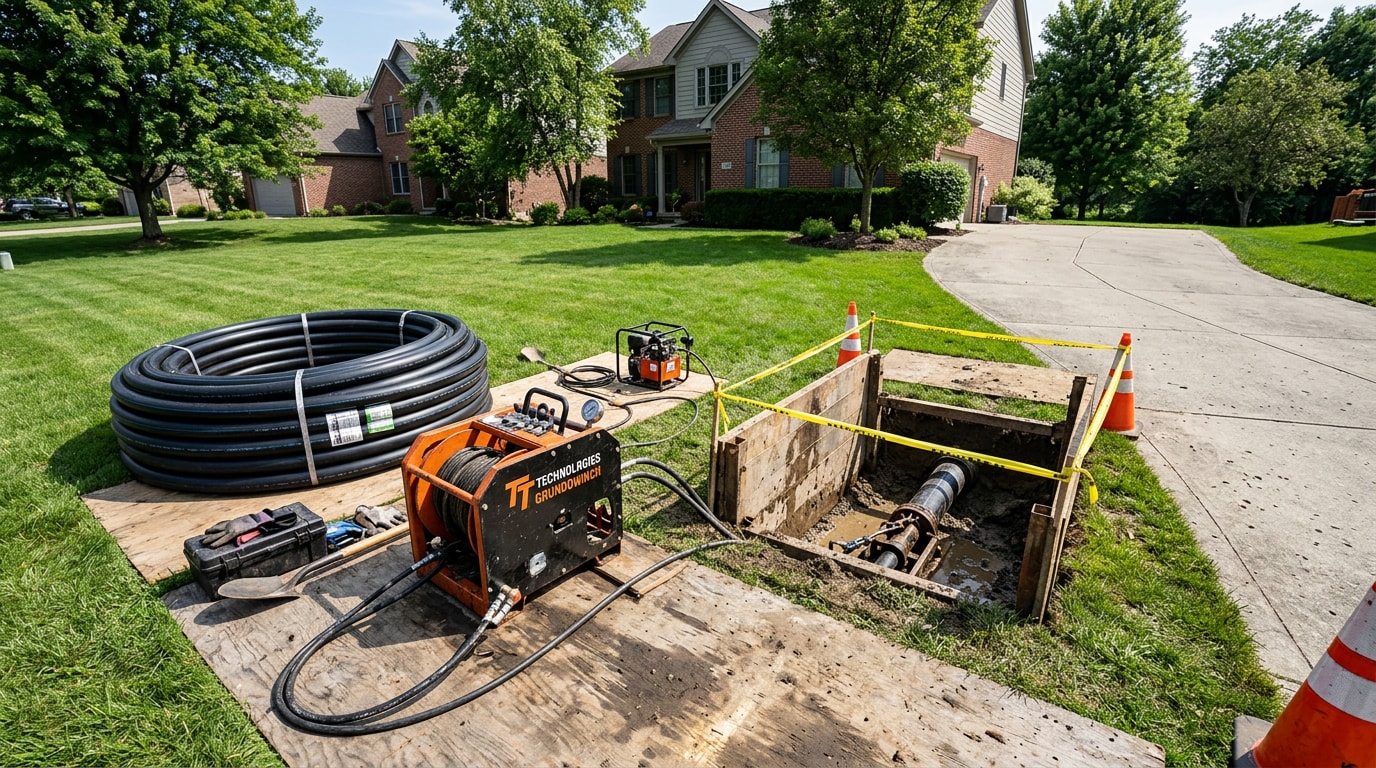
I'll research the SERP landscape before revising. Now verifying external sources before linking. Verifying remaining external sources.
Plumbing pipe repair splits into two jobs: stop the water now, then make the fix permanent. This guide covers both, for copper, PVC, CPVC, and PEX, and tells you how long each temporary patch actually holds before it lets go.
Stop the Leak First
Close the nearest fixture valve. If the leak is on a supply line with no local valve, close the main water shut-off.
Open a faucet downstream to drain the line and drop the pressure. Dry and clean the pipe around the leak.
Cut power to the area if the leak is near wiring, a panel, or a light fixture. Verify the circuit is dead with a non-contact tester before you touch anything damp, and wear nitrile gloves.
Then triage honestly:
- A slow bead every few seconds: you have time to work.
- A steady drip with staining or soft drywall: patch today, repair this week.
- An active spray or a burst line: close the main immediately and call for emergency plumbing service.
Leaks are not a small-money problem. The EPA's WaterSense program reports household leaks waste close to a trillion gallons nationwide each year, which is why a drip you ignore in March shows up on a July bill.
Everything below the shut-off step is stabilization. Permitted, inspected work belongs to a licensed plumber.
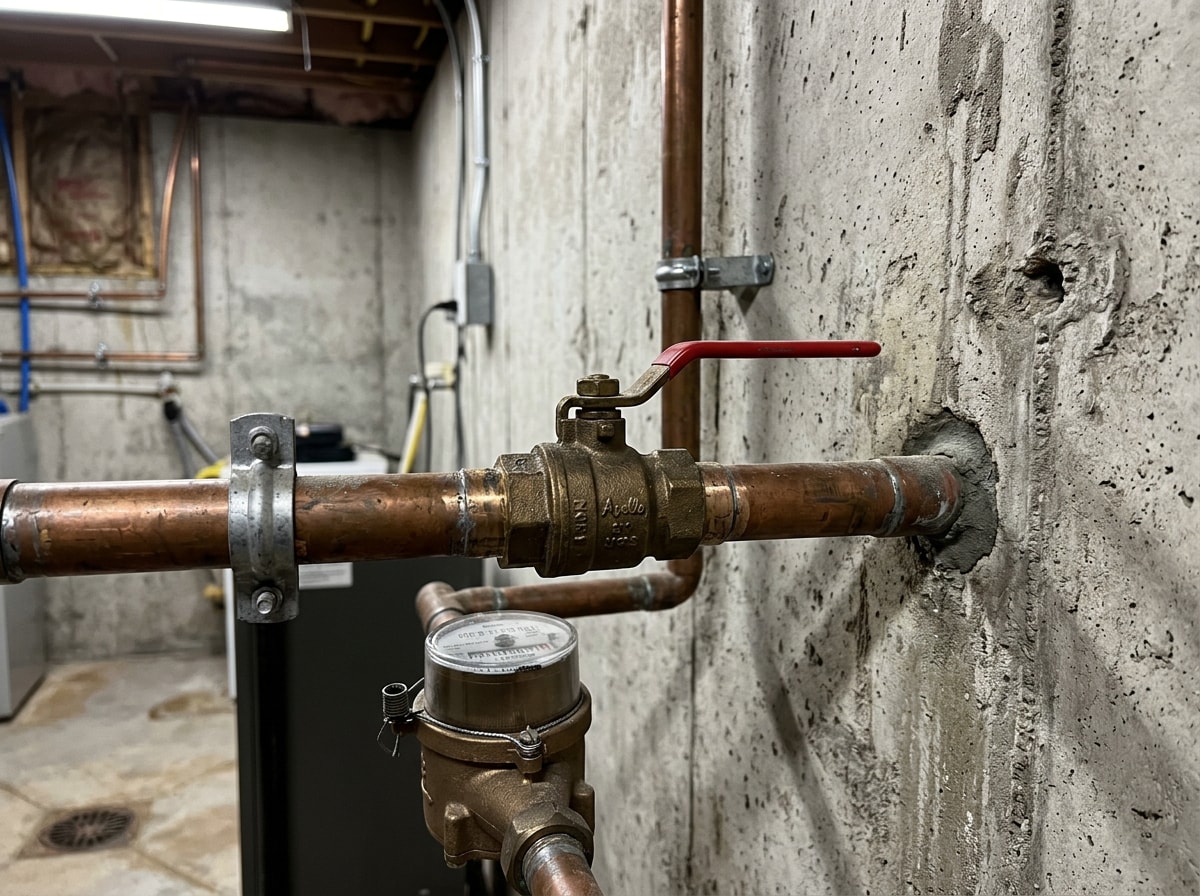
How to Fix a Leaking Pipe: Four Repair Methods
Keep these on hand before trouble starts: a repair clamp sized to your supply lines, a stick of epoxy putty, and a roll of self-fusing silicone tape. That is a working kit for under $40.
Add the basics: adjustable wrench, tubing cutter, PVC cutter, emery cloth, bucket, rags, and a flashlight.
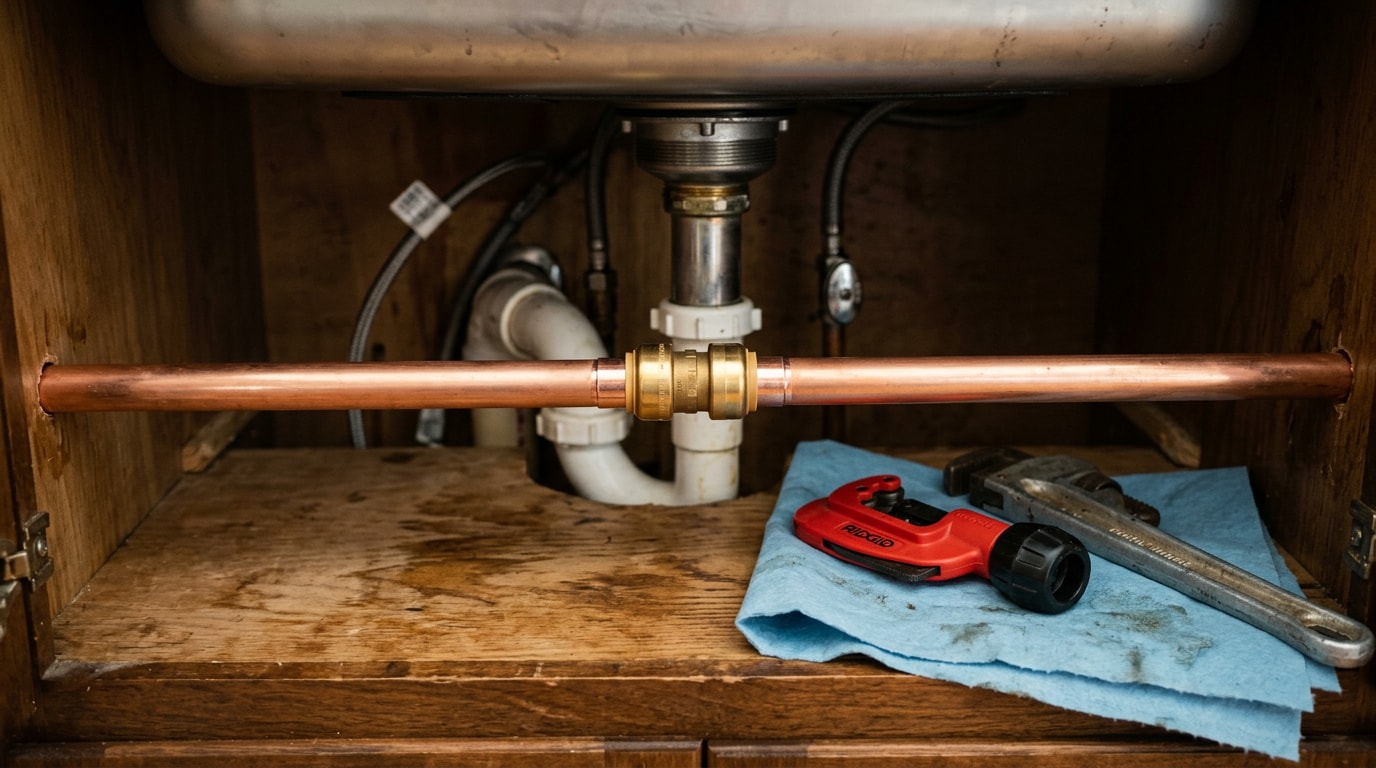
Brass push-to-connect fittings deserve their own mention. They join in seconds with no torch, handle valve swaps and capped lines, and transition between copper, CPVC, PEX, and polybutylene. For a pinhole in an awkward spot, they are often faster than any patch.
Method 1: Self-Fusing Silicone Tape
Silicone tape bonds only to itself and forms a compression sleeve around the pipe.
- Dry the pipe. Tape will not seat on a wet surface unless the product is rated to go on wet.
- Start wrapping two inches before the leak.
- Stretch the tape hard as you wrap. The stretch is what activates the bond.
- Overlap each pass by half the tape width and build four to six layers.
- Finish two inches past the leak and press the tail down firmly.
Best for: pinholes and hairline splits on straight runs.
Method 2: Epoxy Putty
- Dry the pipe and scuff it with sandpaper until clean metal or dull plastic shows.
- Cut equal parts from the two-part stick and knead until the color is completely uniform.
- Press it over the leak and work it around the pipe so it overlaps the damage on all sides.
- Hold steady pressure while it grabs. Most putties start stiffening in two to three minutes.
- Check the label cure time, often an hour, before you repressurize.
Best for: anywhere the surface is not a smooth cylinder. Elbows, threads, a weeping joint, tight corners. It works on any pipe material.
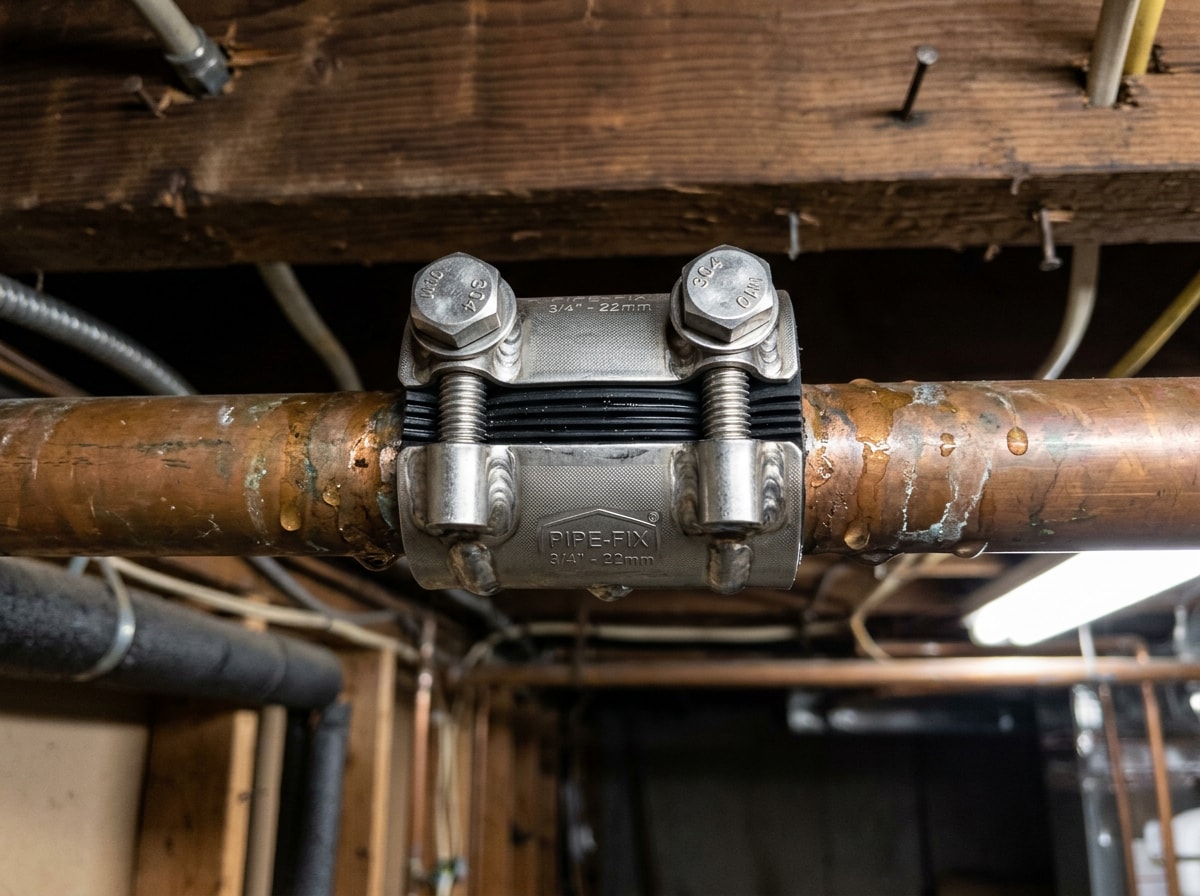
Method 3: Pipe Repair Clamp
A clamp is a hinged metal band lined with a rubber gasket and closed with bolts.
- Clean off scale and corrosion so the gasket can seat flat.
- Loosen the bolts and open the clamp over the pipe.
- Center the gasket so it fully covers the damage.
- Tighten the bolts evenly until the rubber visibly compresses.
Size the clamp to the pipe's outer diameter, not its nominal size. An oversized clamp will never seal.
Go gently on brittle galvanized steel or old cast iron. Over-tightening cracks the pipe and turns a pinhole into a split.
Method 4: PEX Connection Leaks
PEX tubing almost never fails mid-run. The failure point is the connection, where a crimp ring squeezes the tubing onto a barbed insert fitting.
A ring crimped off-center, crimped twice, or under-compressed is the usual culprit.
Check the existing ring with a go/no-go gauge first. If it fails the gauge, cut the ring and fitting out and recrimp a fresh ring, or switch to a push-fit connection. The Plastics Pipe Institute's PEX joining methods design guide covers the standards each fitting system is built to.
One advantage: PEX flexes, so the repair usually needs a smaller access hole than rigid pipe.
How Long Each Temporary Repair Actually Holds
Most guides tell you how to apply a patch. Almost none tell you when it will quit. Here is the honest version.
| Method | Realistic hold | Fails when | Verdict |
|---|---|---|---|
| Silicone tape | Days to a few weeks | Applied damp, under-stretched, or on hot water lines | Buy time only |
| Epoxy putty | Weeks to a few months | Surface not scuffed, repressurized before full cure | Buy time only |
| Repair clamp | Months, sometimes longer on low-pressure lines | Wrong outer diameter, pitted pipe under the gasket | Semi-permanent |
| Cut and replace section | Life of the pipe | Bad cut angle, uncured cement, water left in the joint | Permanent |
The variable nobody checks is pressure. Patches that hold fine at 55 psi start weeping at 90 psi, and high static pressure is common on homes sitting low in a water district's service zone.
Before you trust a patch overnight, thread a $6 gauge onto a hose bibb and read the static pressure. Plumbing codes generally require a pressure-reducing valve where incoming static pressure exceeds 80 psi, and California enforces this through the California Plumbing Code, Title 24 Part 5. If your reading is above that, the leak is a symptom and the regulator is the actual repair.
On South Bay service calls, the patch we see fail most often is silicone tape wrapped on a pipe that was still faintly damp. It holds for an afternoon, then releases overnight when nobody is watching.
Permanent Plumbing Pipe Repair: Replacing the Section
Patching stops working when the damage is longer than a clamp face, when the pipe wall is pitted with corrosion, or when the leak sits right against a fitting. At that point the section comes out.
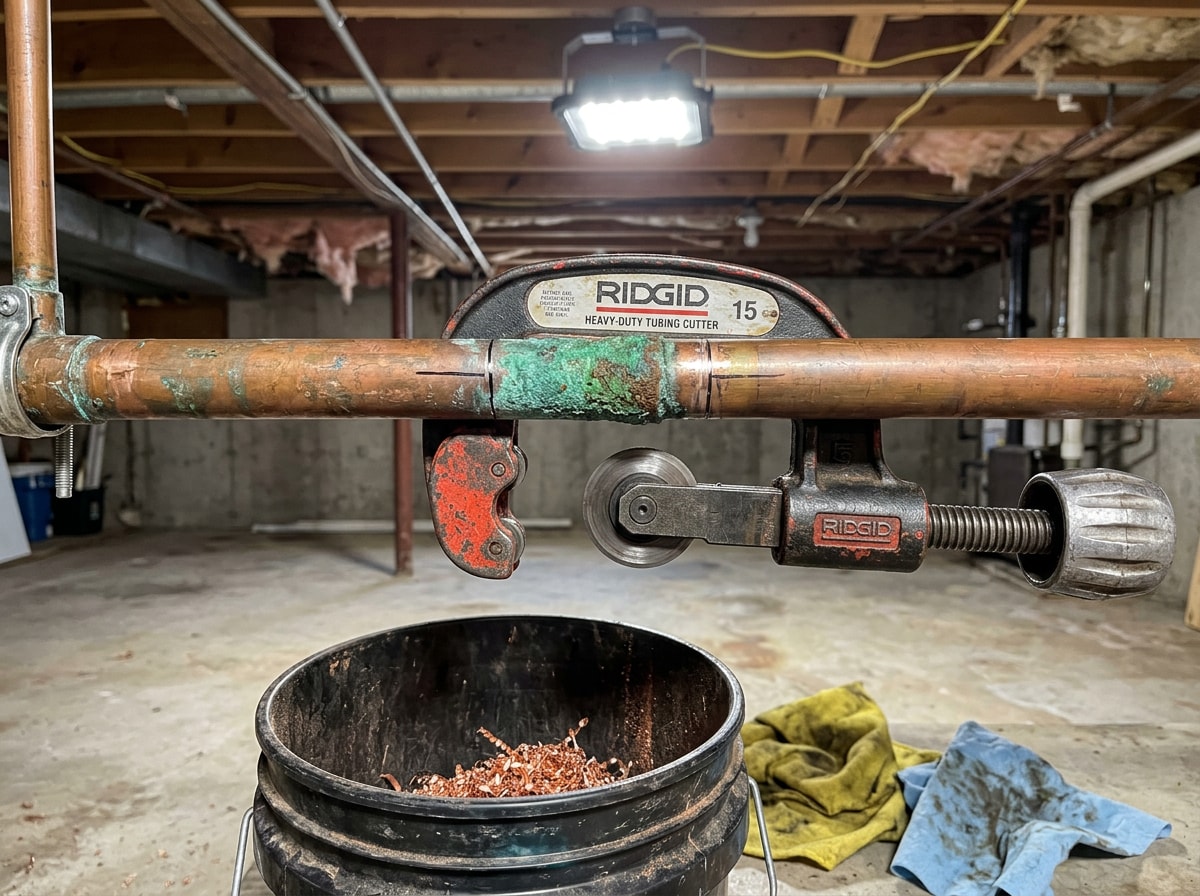
Cut Out the Damaged Pipe
Mark at least one inch of clean pipe on each side of the damage. Go further if you see green corrosion or discolored copper.
Cut outside your marks, never through compromised material.
Match the cutter to the pipe:
- Tubing cutter for copper
- Ratcheting cutter for PVC and CPVC
- Scissor-style cutter for PEX
- Hacksaw for galvanized steel
Keep a bucket and rags underneath. Supply lines hold water even after draining.
Then deburr. A ragged inside edge restricts flow, and a cut that is not square will not seat fully in a coupling. That is the number one cause of a joint that weeps after everything is buttoned back up.
Install the New Section
The joining route depends on material.
| Material | Joining method | Tools | Working time | Skill | Typical DIY? |
|---|---|---|---|---|---|
| Copper | Soldered coupling | Torch, flux, solder, emery | 30 to 45 min | High | Experienced only |
| Copper | Push-fit coupling | Tubing cutter, deburrer | 10 to 15 min | Low | Yes |
| PVC / CPVC | Primer plus solvent cement | Cutter, primer, cement | 20 min plus cure | Low to medium | Yes |
| PEX | Crimp ring | Crimp tool, go/no-go gauge | 10 min | Low | Yes |
| Any, tight space | Slip repair coupling | Cutter, depth gauge | 15 to 20 min | Medium | Yes |
Where there is no room to spring the pipe apart, use a slip repair coupling. Make square, deburred cuts, mark each pipe end to the manufacturer's insertion depth with the depth gauge, slide the slip end fully onto one side, then center it across the gap.
Two mistakes force a redo more than anything else: soldering a pipe that still holds water, and repressurizing before solvent cement has cured.
Restore water slowly. Run a dry hand around the joint and both neighboring fittings, since pressure redistributes and the next weak joint often shows itself within minutes. If pressure drops again, book a plumbing inspection rather than chasing it blind.
Plumbing Pipe Repair Cost in 2026
Access drives the price far more than pipe material does. These are typical ranges for residential work in the South Bay and should be confirmed with a written quote.
| Repair type | Typical range | What moves the number |
|---|---|---|
| Exposed pipe, accessible | $150 to $400 | Pipe size, fitting count |
| Behind a wall or ceiling | $400 to $1,200 | Drywall opening, dry-out time |
| Slab or underground | $1,500 to $4,000+ | Detection, concrete, rerouting |
| Whole-house repiping | Quoted per project | Material, stories, fixture count |
Most quotes exclude drywall patching, flooring, and water damage remediation. Ask what is in scope before you sign.
If the number lands higher than expected, spreading it out is an option worth asking about before the work starts.
When to Stop and Call a Licensed Plumber
Call now if the leak is:
- Inside a wall, ceiling, or under a slab
- On the main water line
- On a gas line or near electrical equipment
- Showing up in two or more places on the same run
That last one is a repiping conversation, not a patch. Multiple pinholes on one copper run means the wall thickness is gone across the whole line, and our guide to plumbing repiping cost, materials, and timeline walks through what that project involves.
Gomez Sewer and Drain handles plumbing repair and full pipe replacement across San Jose and surrounding areas. You can see more about our work on our homepage or request a free estimate and we will tell you straight whether it is a patch or a replacement.
FAQ
Can I repair a leaky pipe without replacing it?
Often, yes. Silicone tape, epoxy putty, and a correctly sized repair clamp all seal small leaks. They buy time rather than ending the problem. A permanent fix almost always means cutting out the damaged section and joining in new material.
What can I use to seal a leaking pipe right now?
Self-fusing silicone tape on a straight run, epoxy putty on a joint or elbow, or a repair clamp if you have one that matches the pipe's outer diameter. Duct tape and household adhesives do not hold against line pressure.
How much does it cost to fix a leaking pipe?
Roughly $150 to $400 for an exposed pipe, $400 to $1,200 behind a wall, and $1,500 or more for slab and underground leaks. Access and restoration drive the spread. Always get the scope in writing.
How long does pipe repair take?
The repair itself is fast. A PEX connection takes minutes, an accessible copper joint under an hour. Access and restoration stretch it. Opening a wall, drying the cavity, and patching afterward can push a one-hour repair across two or three days.
Is a leaking pipe an emergency?
It is if water is spraying, if it is near electrical equipment, or if you cannot isolate it without closing the main. A slow drip into a bucket is not an emergency, but it is still causing damage behind the surface you can see.
Does homeowners insurance cover a burst pipe?
Policies commonly cover the sudden water damage while excluding the failed pipe itself and any damage traced to long-term neglect. Terms vary by carrier, so read your policy and photograph everything before cleanup.
How do I find a hidden leak?
Shut off every fixture, then watch your water meter for two hours. If the reading moves, water is going somewhere. Warm spots on a floor, a running sound with taps closed, or unexplained humidity all point to a concealed line.
Why did my pipe leak again in a different spot?
Usually pressure or age. Either the static pressure is above the 80 psi threshold and stressing every joint, or the run has reached the end of its service life and failures will keep appearing. A pressure reading tells you which one you are dealing with.
Reviewed by the field team at Gomez Sewer and Drain, licensed plumbing contractors serving San Jose, Palo Alto, Los Gatos, Sunnyvale, Campbell, Santa Clara, Menlo Park, and Redwood City. Questions about a specific leak? Contact us.