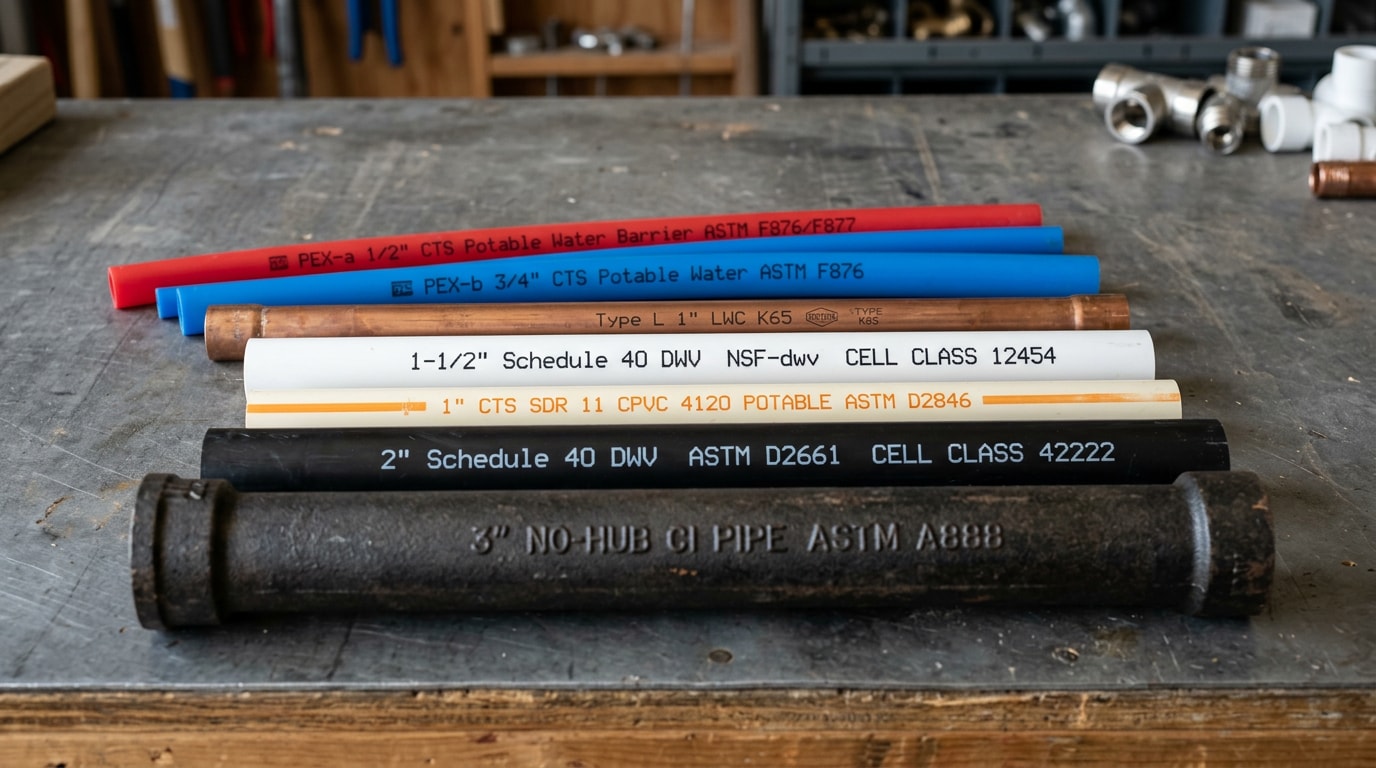
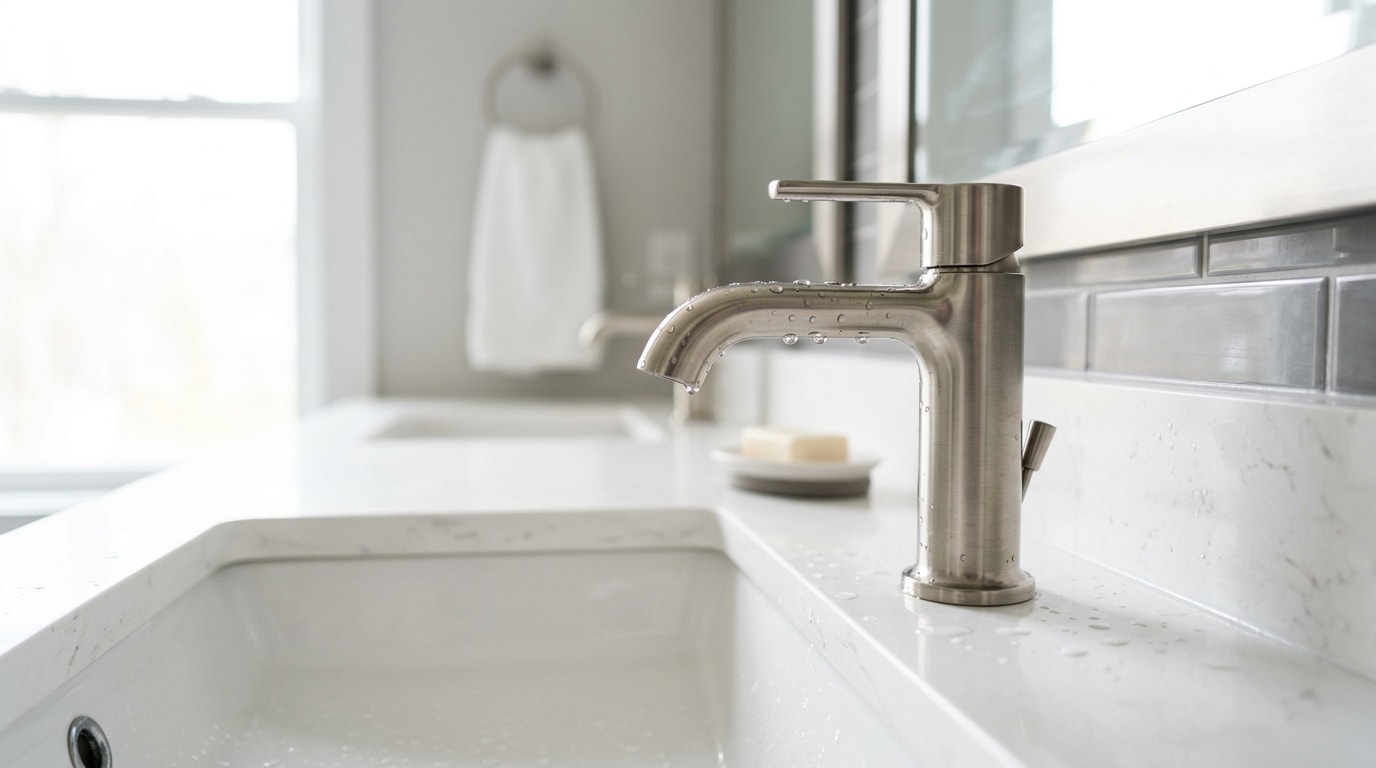
Plumbing fixture installation is the removal of an old fixture and the mounting, sealing, and connecting of a new one, including the water supply, drain, and in some cases vent connections. Most faucet and toilet swaps run one to two hours, and almost every failure traces back to three things: the wrong sealant, an overtightened nut, or a shut off valve nobody tested first. Here is the full process, real 2026 cost ranges, the permit rules most homeowners miss, and the point where a swap stops being a weekend job.
What Plumbing Fixture Installation Includes
A plumbing fixture is a permanently connected device that delivers clean water, carries away wastewater, or both: sinks, faucets, toilets, showers, tubs, garbage disposals, and laundry fixtures.
A complete installation covers six steps, whether you do it or a plumber does:
- Shutting off water at the fixture stops and protecting the work area
- Removing and hauling away the old fixture
- Inspecting the stops, supply lines, flange, and trap before anything new goes on
- Mounting the new fixture with the correct gasket, putty, or caulk
- Connecting hot and cold supply and the drain
- Pressurizing slowly and leak testing every joint
One distinction that saves a second trip to the store: a fixture is the device itself, while fittings are the parts that feed and seal it. Faucets, supply lines, and angle stops are classed as fixture fittings in the plumbing code, which devotes an entire chapter to "Plumbing Fixtures and Fixture Fittings." Buying a "fixture" often means you still need to buy the fittings.
If you would rather hand the whole sequence off, our plumbing installation team handles removal, haul away, and testing in one visit.
Tools, Materials, and Shutting Off the Water
Three things happen before anything leaves its box: tools on the floor beside you, water off, and a clean work area. Skip one and you will find out which one.
Essential Tools and Materials
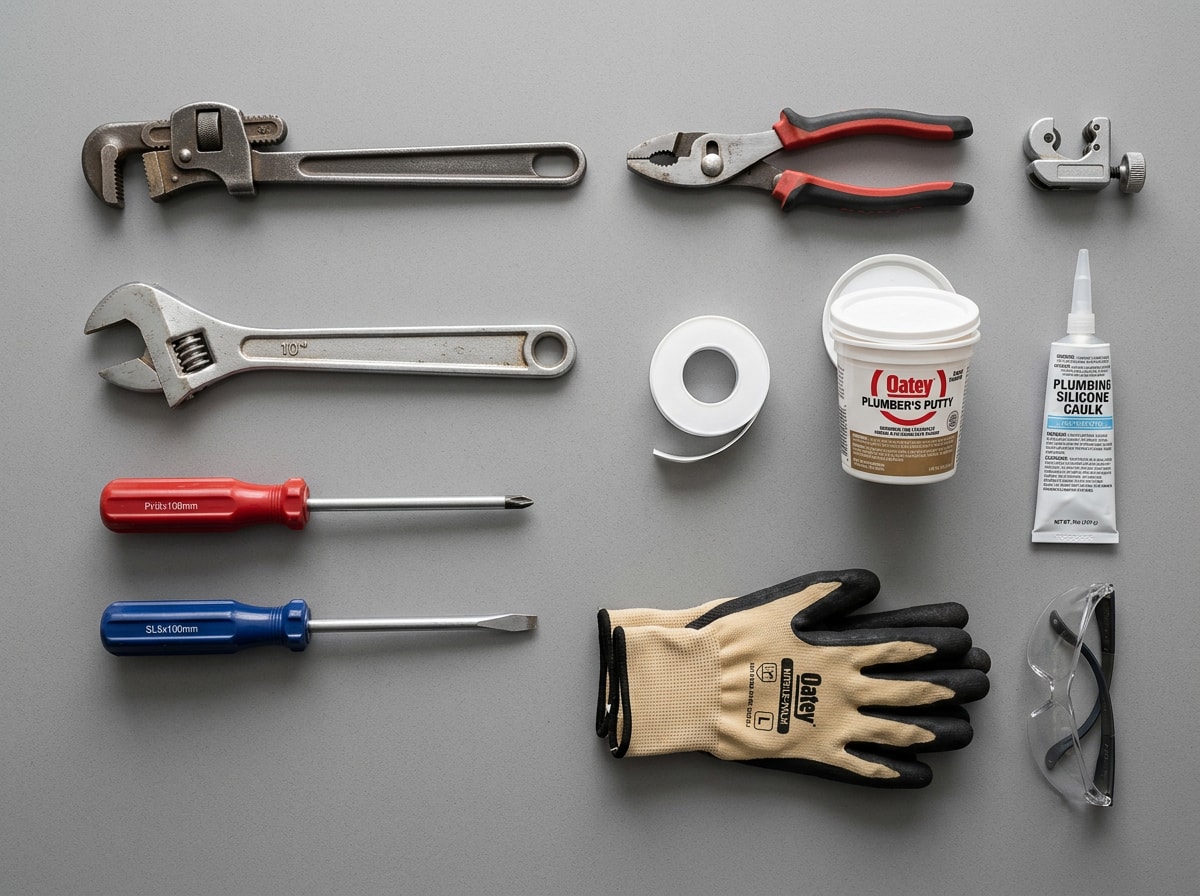
Keep these within reach: adjustable wrench, basin wrench, pipe wrench, Phillips and flathead screwdrivers, slip joint pliers, tube cutter, utility knife, bucket and towels, flashlight, safety glasses, and gloves.
You also need three sealing materials, and they are not interchangeable:
- Plumber's putty: around drain flanges and some fixture bases, where the joint is compressed rather than threaded.
- PTFE (Teflon) tape: threaded connections only, wrapped clockwise so tightening pulls the tape into the threads instead of unspooling it. Wrapping it backwards is the single most common tape error.
- Silicone caulk: around the finished base of a fixture to block standing water.
Before you buy, confirm the new fixture matches your existing hole spacing or rough in dimensions.
Shut Off the Water Supply
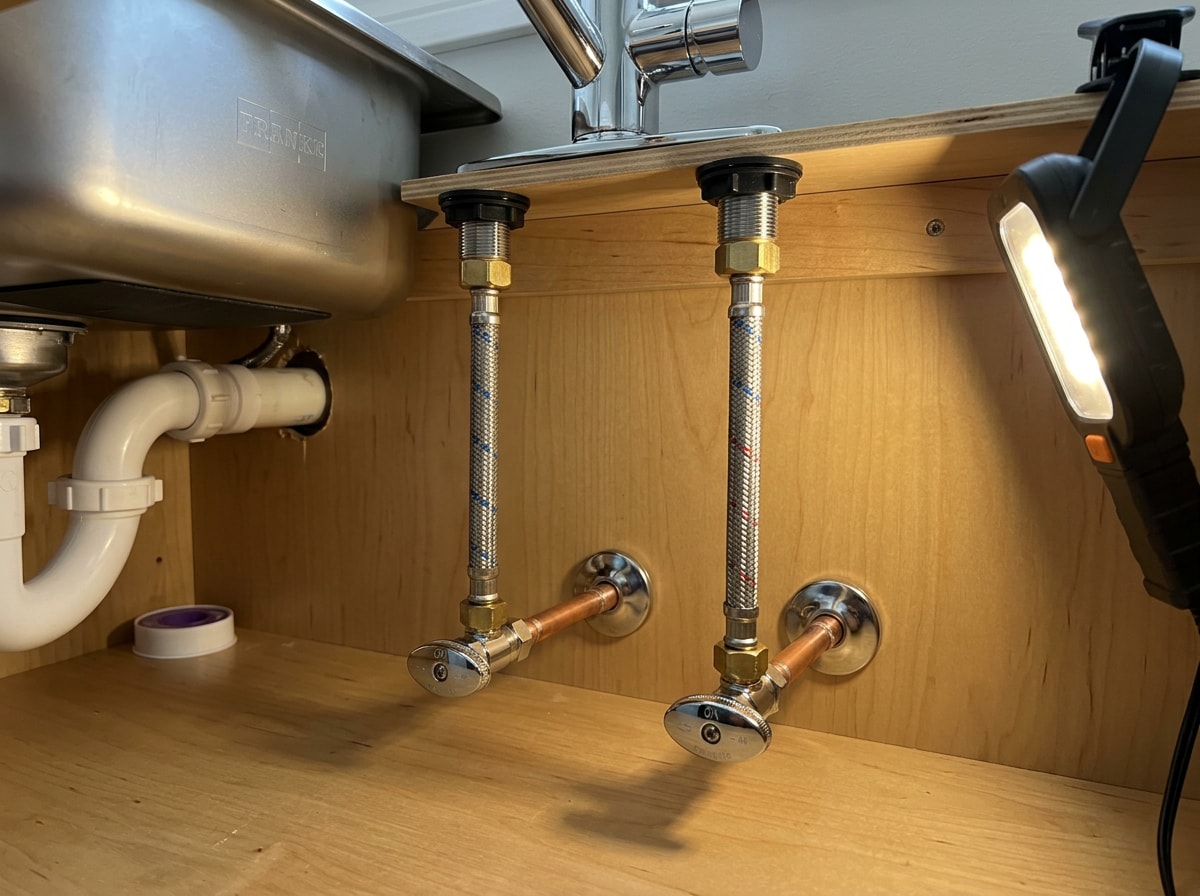
Find the fixture stops under the sink or behind the toilet and turn each angle stop clockwise until it closes. Open the fixture to relieve pressure and drain the line, then set a bucket under the connection.
If a stop is seized or weeps when you turn it, close the main instead and plan on replacing that valve as part of the job. In older Santa Clara County homes we work in, a frozen multi turn stop is the most common reason a 45 minute faucet swap turns into a half day, so check both stops before you buy anything.
Prepare the Area
Scrape old sealant, hardened putty, and mineral buildup off the deck or flange. A new seal only works against clean material.
Then protect what is below: drop cloths and towels under the work zone, and empty the cabinet before you crawl into it.
How to Install the Most Common Fixtures
Every fixture follows the same four beats: remove, prep, mount, then connect and test. The detail inside each beat is what changes.
Remove the Old Fixture
Disconnect the supply lines at the stops, back off the mounting nuts, break the old seal with a putty knife, and lift the fixture away. Keep the bucket handy, because there is always residual water.
With the fixture off, take two minutes to inspect the stops, supply lines, flange, and trap for corrosion or green crust. A corroded supply line costs a few dollars now and a flooded cabinet later.
Installing a Faucet
Assemble the faucet on the counter per the manufacturer's instructions, then wrap PTFE tape clockwise on any threaded tailpiece.
Seat the supplied gasket (or a putty rope, if the instructions call for it) on the deck, drop the tailpieces through the sink holes, and center the body.
Underneath, hand start the mounting nuts and snug them with a basin wrench. That tool exists for exactly this reach. Connect hot to the left stop and cold to the right.
To test, open both stops slowly, run hot and cold for a full minute, then feel every joint with a dry hand before anything goes back in the cabinet. While the spec sheet is still in the box, check the flow rate against the EPA WaterSense criteria for bathroom sink faucets, which cap labeled models at 1.5 gallons per minute versus the 2.2 gpm standard flow.
How to Install a Toilet
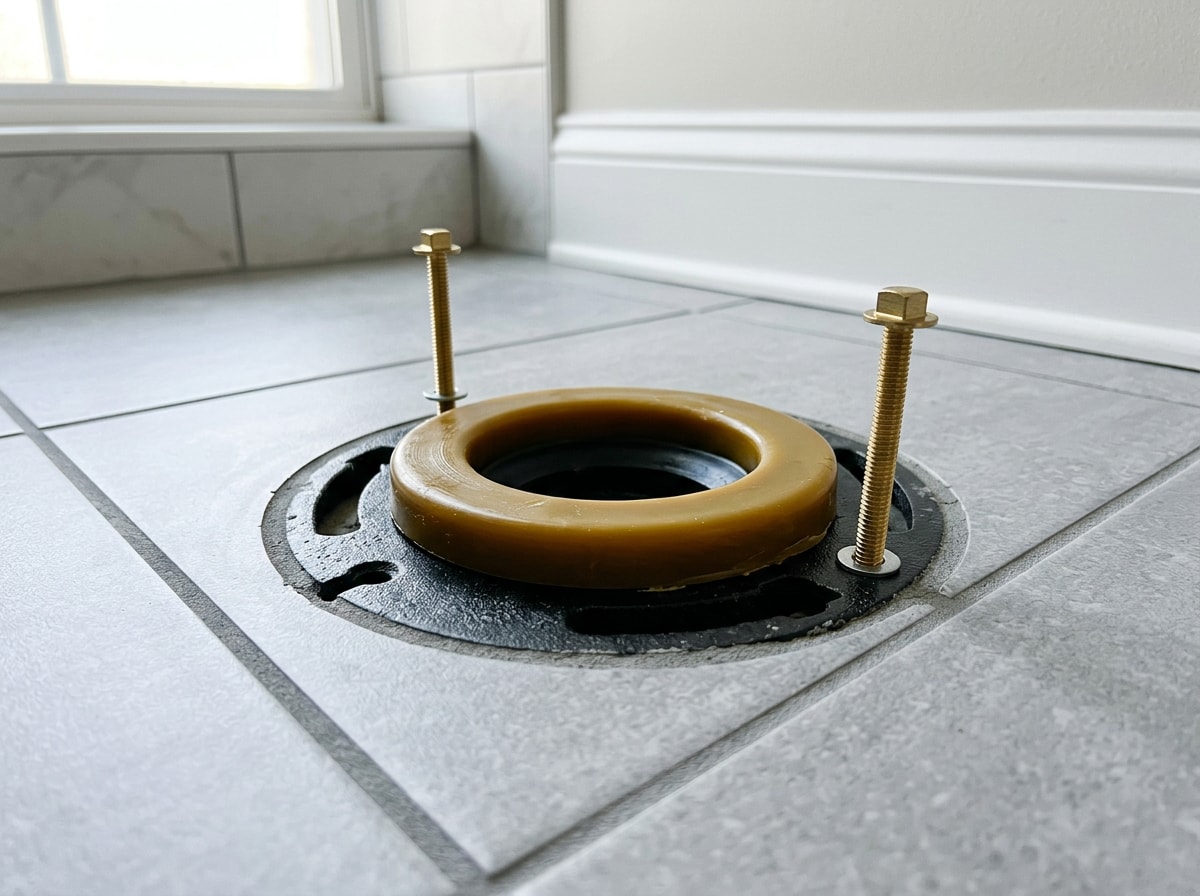
Scrape every trace of old wax off the flange and set a new wax ring. Never reuse the old one.
Lower the bowl squarely over the closet bolts, keeping it level as it lands, then press down with steady body weight to seat the seal.
Tighten the nuts alternately and evenly, a little on each side, and stop when the bowl stops rocking. Overtightening cracks porcelain, and that crack usually shows up a week later.
Next, seat the tank to bowl gasket, set the tank, tighten its bolts the same alternating way, connect the supply to the fill valve, and cap the closet bolts.
One stopping point: if the flange sits below the finished floor or is cracked, this is no longer a straight swap. That repair comes first.
How to Install a Showerhead or Tub Spout
Unscrew the old head counterclockwise from the shower arm, wipe the threads clean, and wrap them with PTFE tape. Thread the new head on by hand, then snug it with a wrench, wrapping a cloth around the finish first so the jaws do not scar it.
For tub spouts and valve trim, loosen the set screw, pull the old trim, and check whether the spout is slip fit on a copper stub or threaded. Mixing up those two is the usual reason a new spout leaks behind the wall. Valve body work inside the wall belongs with a shower and tub installation crew, not a basin wrench.
Plumbing Fixture Installation Cost in 2026
Fixture price and installation labor are two separate numbers. The ranges below are early 2026 U.S. planning estimates built from typical retail fixture pricing and plumber labor rates of roughly $90 to $200 per hour, plus any trip or minimum charge. Regional rates vary widely, so treat these as a budget range, not a quote.
| Fixture | Fixture only | Installed total | Labor portion |
|---|---|---|---|
| Bathroom faucet | $60 to $400 | $180 to $650 | $120 to $250 |
| Kitchen faucet | $100 to $600 | $250 to $900 | $150 to $300 |
| Toilet | $150 to $700 | $350 to $1,100 | $200 to $400 |
| Sink (drop in or undermount) | $120 to $800 | $350 to $1,300 | $230 to $500 |
| Garbage disposal | $90 to $400 | $250 to $750 | $160 to $350 |
| Shower or tub valve and trim | $120 to $600 | $450 to $1,600 | $330 to $1,000 |
The labor column is what decides your DIY question. A premium faucet costs more to buy but rarely costs more to install. The spread comes from access, corrosion, and whether anything behind the wall has to move.
Budget for three extras that rarely appear on a first quote: permit and inspection fees, haul away of the old fixture, and the supply lines or shut off valves you discover are shot once the fixture is off. Want a firm number instead of a range? Request a free estimate and we will price the swap and the surprises separately.
Permits and Code: The Part Most Guides Skip
National how to articles tell you that like for like swaps never need a permit. That is not true everywhere, and California is a clear example.
The City of San José states that a plumbing permit is required to add or replace plumbing fixtures or modify pipe configuration, with an online permit available for many single family and duplex fixture replacements. Repairs, stoppage clearing, and minor parts replacement are exempt, but if a concealed trap, drain pipe, or vent has to be replaced, the city treats that as new work and a permit is required.
Two more local details worth knowing before you shop:
- Pre 1994 properties trigger a retrofit. For buildings built before January 1, 1994, any permitted alteration or improvement requires noncompliant fixtures throughout the building to be upgraded to water conserving models. Single family compliance was required by January 1, 2017, and multifamily and commercial by January 1, 2019.
- The code edition changed this year. The 2025 California Plumbing Code, Title 24 Part 5, based on the 2024 Uniform Plumbing Code, took effect January 1, 2026. California follows the UPC, not the International Plumbing Code, so IPC based instructions you find online may not match what an inspector here expects.
Rules are set locally, so confirm with your own building department before you assume a swap is exempt. Our San Jose and surrounding areas team pulls permits as part of the job when one applies.
Common Installation Mistakes and How to Fix Them
Most fixture leaks come from a short list of errors. Read these as symptom, cause, fix.
- Drip at a threaded joint: tape wrapped counterclockwise or the wrong sealant used. Disassemble, clean the threads, rewrap clockwise.
- Cracked porcelain or a split plastic nut: overtightening. Replace the part and tighten by hand plus a quarter turn.
- Hot water coming out of the cold side: supply lines reversed at the stops. Swap them.
- Water seeping around a toilet base: a reused or crushed wax ring. Pull the bowl and reset it on a new one.
- Soaked cabinet floor: no leak test under full pressure, or no plan for the water still sitting in the lines.
Handle any of these immediately. A delayed drip is how a one hour job becomes a plumbing repair call, and a supply line that lets go while you are out becomes an emergency plumbing service call.
DIY or Hire a Plumber
A straight like for like swap on a sound flange, a showerhead, or a bathroom faucet is a reasonable skill to own, and it pays off every time you use it.
Hiring a licensed plumber buys four things: correct function with no leaks on day one, longer fixture life from proper support and torque, warranty validity (many manufacturer warranties require professional installation), and far lower water damage exposure.
Call a pro when the job involves a relocated fixture, new drain or vent piping, a cracked or sunken flange, corroded or soldered connections, low water pressure that predates the new fixture, or anything a permit covers. A bathroom fixture replacement that uncovers a bad flange is a different job than the one you started.
Efficiency is also worth a look while the old fixture is out. The U.S. Department of Energy's guidance on faucets and showerheads notes that WaterSense labeled lavatory faucets cut flow about 32 percent below the federal standard, which is free savings if you are buying new anyway.
FAQ
What does plumbing fixture installation include?
It includes shutting off the water, removing and disposing of the old fixture, inspecting and replacing supply lines or shut off valves if needed, mounting and sealing the new fixture, connecting supply and drain, and leak testing under full pressure.
How long does it take to install a plumbing fixture?
A showerhead takes 15 to 30 minutes. A faucet or sink replacement typically runs one to two hours. Moving a fixture, replacing supply lines, or repairing a flange can take half a day or more.
Do I need a permit to replace a faucet or toilet?
It depends on your jurisdiction. In San José, replacing a plumbing fixture requires a plumbing permit, though many single family replacements can be permitted online, while simple repairs and minor parts replacement are exempt. Check your local building department before you start.
How much does it cost to install a plumbing fixture?
Labor alone usually runs $120 to $400 for a faucet or toilet, and more for shower valves or any work behind a wall. Installed totals, fixture included, generally land between $180 and $1,600 depending on the fixture type.
What are the three stages of plumbing installation?
Underground or rough in (drain and supply lines below slab and in the ground), top out (supply and DWV piping run through walls and ceilings), and final set, when fixtures and trim go in. Fixture installation is that last stage.
What is the difference between a plumbing fixture and a fixture fitting?
The fixture is the device that holds or receives water, such as a sink, toilet, or tub. The fitting is the hardware that controls and delivers water to it, such as the faucet, supply lines, and angle stops. Codes regulate them separately.
How can I make sure the installation is leak free?
Use the correct sealant for each joint type, wrap PTFE tape clockwise, hand tighten evenly without overtorquing, and repressurize slowly. Check every joint with a dry hand, then check again 24 hours later once the system has sat under full pressure.
How often should plumbing fixtures be replaced?
Most last 10 to 20 years, and hard water shortens that. Replace sooner if you see dripping that survives a rebuild kit, corrosion on the body or connections, cracked porcelain, or chronic low flow that cleaning will not fix.
Can one bad fixture affect the rest of my plumbing?
It can mask a bigger issue. If a new faucet still runs weak, or several fixtures drain slowly, the problem is upstream in the supply or drain system, not the fixture. That is a case for a plumbing inspection before you buy more hardware. Under the kitchen sink specifically, it helps to know how the trap, disposal, and tailpiece connect, which our kitchen sink plumbing diagram guide walks through part by part.
Get the Install Done Right
Gomez Sewer and Drain is a licensed, insured plumbing contractor serving San Jose, Palo Alto, Los Gatos, Sunnyvale, Campbell, Santa Clara, Menlo Park, and Redwood City. Our crews set fixtures every week, pull the permits when the city requires them, and leak test before we pack up.
See what we do at Gomez Sewer and Drain or contact us for a free estimate on your fixture installation.